Welcome to part two of the Twitch Extension Series of Posts.
This week, we’ll be talking a little on Integration Points!
What integration points does a Twitch Extension have?
We touched on this in Part 1
Twitch provides developers with three main, two auxiliary, and two Broadcaster only integration points, and of these integration points Twitch lets us pick the HTML (and thus Javascript or CSS) file(s) we wish to load for all of these. (Well except Panel Popout, screw that guy, it owes me a tenner).
Hang on just a minute
What? OH! You want to know how to create an Extension first or where to set the HTML to be loaded for each view? Yes, that would make a little more sense, wouldn’t it!
Extensions can be created, configured, and release via the Twitch Developer Console.
The Developer console can be found at https://dev.twitch.tv/console
After logging in you’ll generally land on the Summary page that will list you current Extensions, Applications and any Games/Categories you may “own” on Twitch from being part of an organization

We’ll ignore everything else since we are only interested in Extensions.
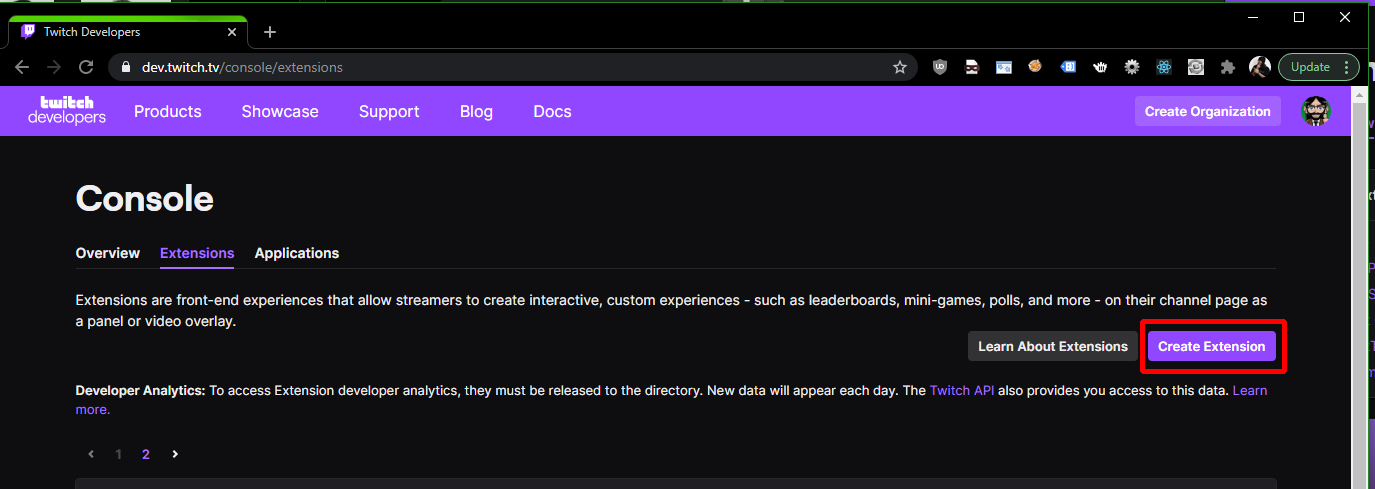
If you click Extensions then “Create Extension” it’ll take you through a short “Setup Wizard” before presenting you with your ClientID for the Extension. We’ll do that now so we have an Extension to play with during this series!
PRO TIP: After starting the Wizard, please finish the wizard, even if you intend to change everything later.
- Asks for your Extension Name, then Click Continue
- Asks you to pick the views/integration points you want, which you can change later
- Provide a Version number, 0.0.1 will suffice for now
- Add additional details such as the Extension description and contact details for you
- Now hit “Create Extension Version”
Twitch will send you an email to verify the provided contact details, so click the link in those email(s).
We’ll cover most of the other fields in a future post, but today we are interested in integration points.
Twitch will now have dropped us on the status page for our Extension
It’s important to note that you cannot use “Twitch” in the name of you Extension, and the name needs to be unique across Extensions and Applications across all of Twitch
So Integration Points?
On the Extension Status page, hit “Asset Hosting”, this will take us to the page to configure our “Extension Views” and what html to load. Twitch will prefill with something sensible, but you can use anything you want
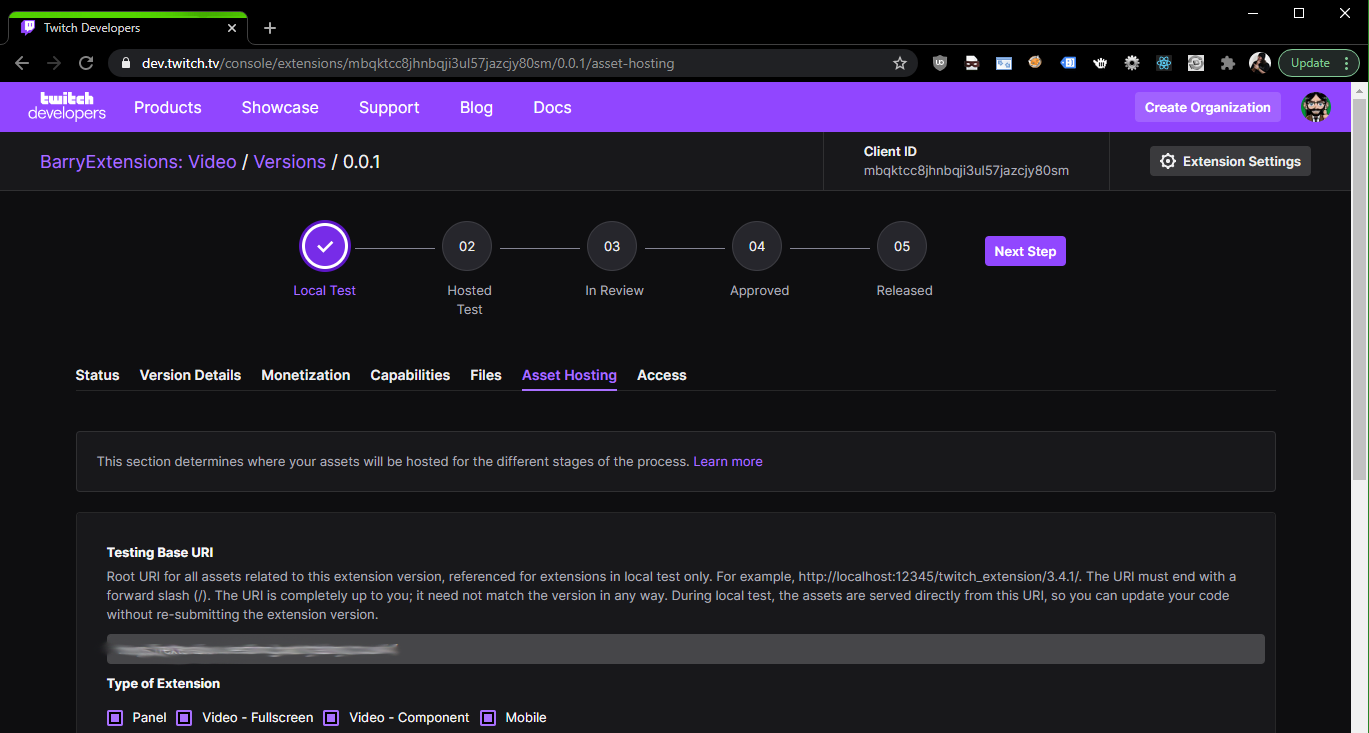
At the top is the Testing Base URI, we are going to ignore this for now, but we’ll be covering it next week, when we might actually start building.
Below that comes the section that lets you pick via Checkbox, which views (for the viewer) you wish to enable. And the settings for each view.
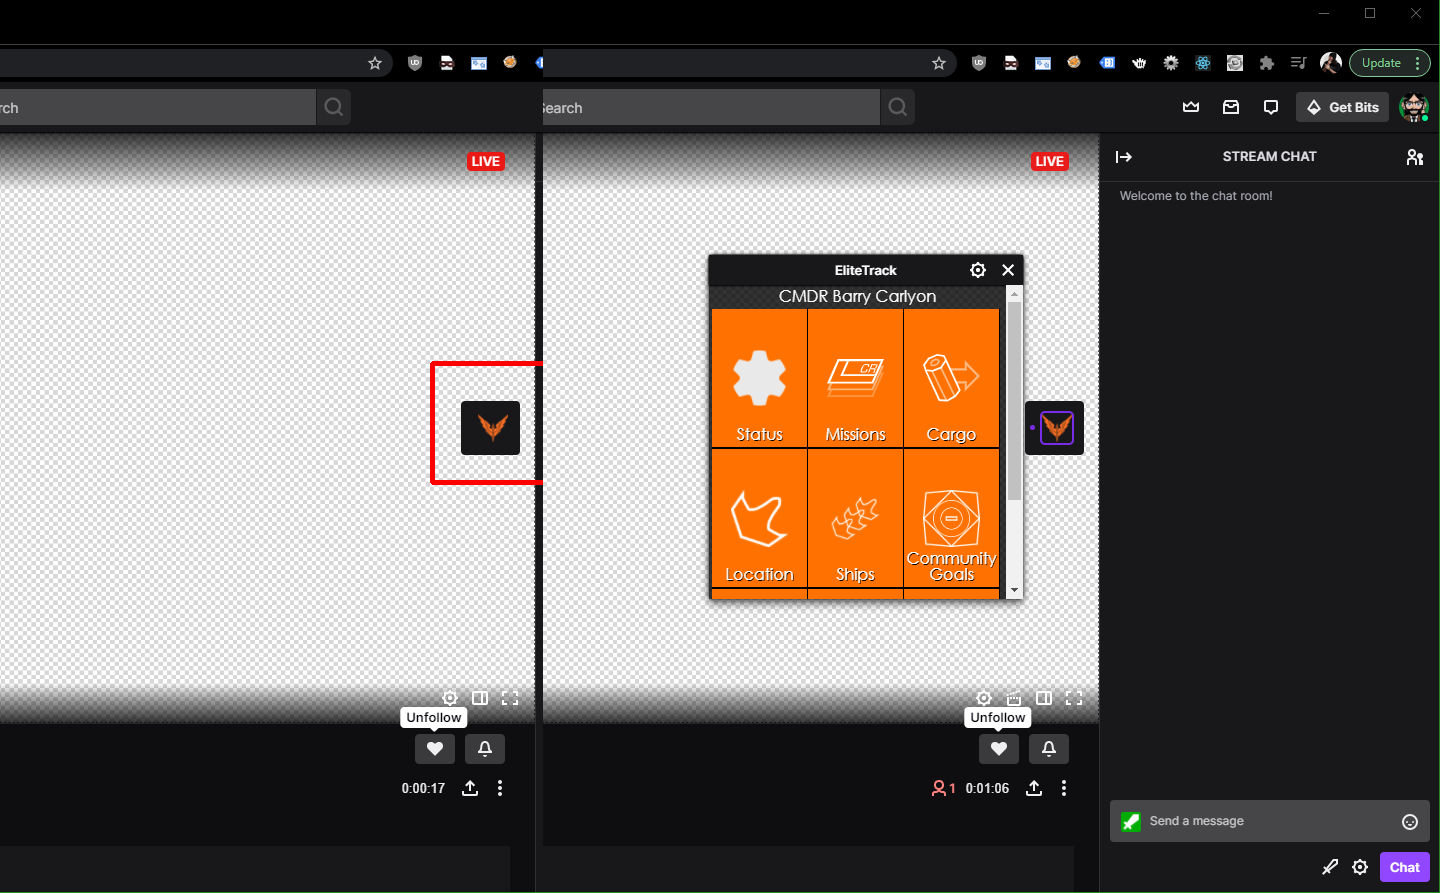
Panel
A Panel is rendered below the stream, in the panels section, Broadcasters have “some” control over where a panel extension will appear in relation to the other panels, Twitch liks to jumble things round sometimes, but generally Panel Extensions are pretty sticky and reflect the broadcasters choice.
A panel has the following settings available
- Panel Viewer Path – the path and file name of the HTML file you wish to load, it is a relative path to the Testing Base URI/final upload URL
- Panel Height – a panel extension is fixed Width (318px), but the developer can choose what height to use, ranging from 100px to 500px
A Panel extension, can be popped out (one of the Auxiliary Integration points we mentioned), which will start at 318px wide and the specified height, but the Viewer can then resize this window. It’s something to be aware of when building your extension, and offers the ability to use Responsive design
Video – Fullscreen
A Video Fullscreen extension will cover the whole stream, so the developer and designer can utilize the whole stream. Usually it’s safe to assume that the size is 1920px x 1080px, and you can scale as needed, we’ll cover some ways to handle this in a future post
A video Fullscreen only has one setting, the HTML file you wish to load, it is a relative path to the Testing Base URI/final upload URL
Mobile
YES, THE CHECKBOXES GO: Panel, Video – Full, Video – Comp, Mobile but the page goes in a different order
The Mobile view is presented to Viewers using a Mobile device in the Twitch App for that device, such as an Apple iPhone, Apple Table, Android phone and so on.
Like Video Fullscreen there is only one option here, the HTML file to load, it is a relative path to the Testing Base URI/final upload URL
Mobile you’ll need to practice Responsive design as dimensions will vary by device and orientation of the device
Video – Component Viewer Path
A video Component roughly works similar to a Panel, but it defaults to being “closed” and can be manually opened by the Viewer by clicking the relevant icon in the “taskbar”, the Taskbar is presented to the viewer on the right of a Live Stream.
The following options are available
- Video Component Viewer Path – the path and file name of the HTML file you wish to load, it is a relative path to the Testing Base URI/final upload URL
- Video Component Sizing Parameters – there are a number of options here we’ll cover this more in depth at a future post as it can get fun!
Non Viewer integration Points
That covers all the Viewer intergration points and their options in summary
Next we have the “Broadcaster” Integration points, there are two of them, both have the same available settings, the path and file name of the HTML file you wish to load, it is a relative path to the Testing Base URI/final upload URL
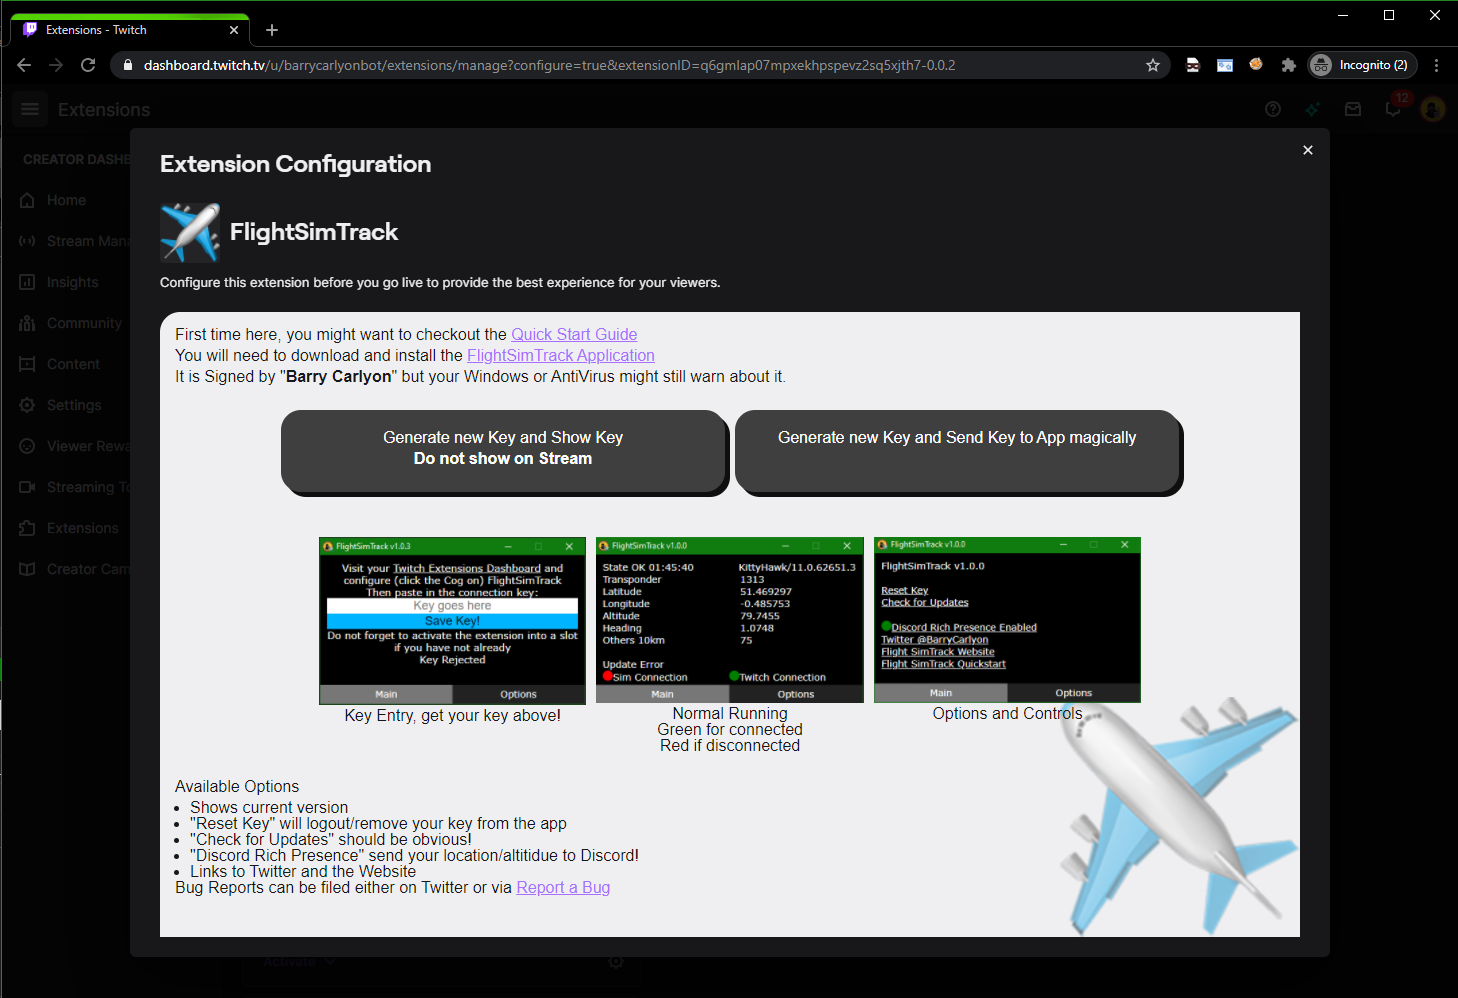
Configuration view
This is the main/one off configuration view, when a broadcaster first installs your Extension they will be prompted to ask if they want to visit the Configuration page or not. This page is used for one off or infrequent configuration
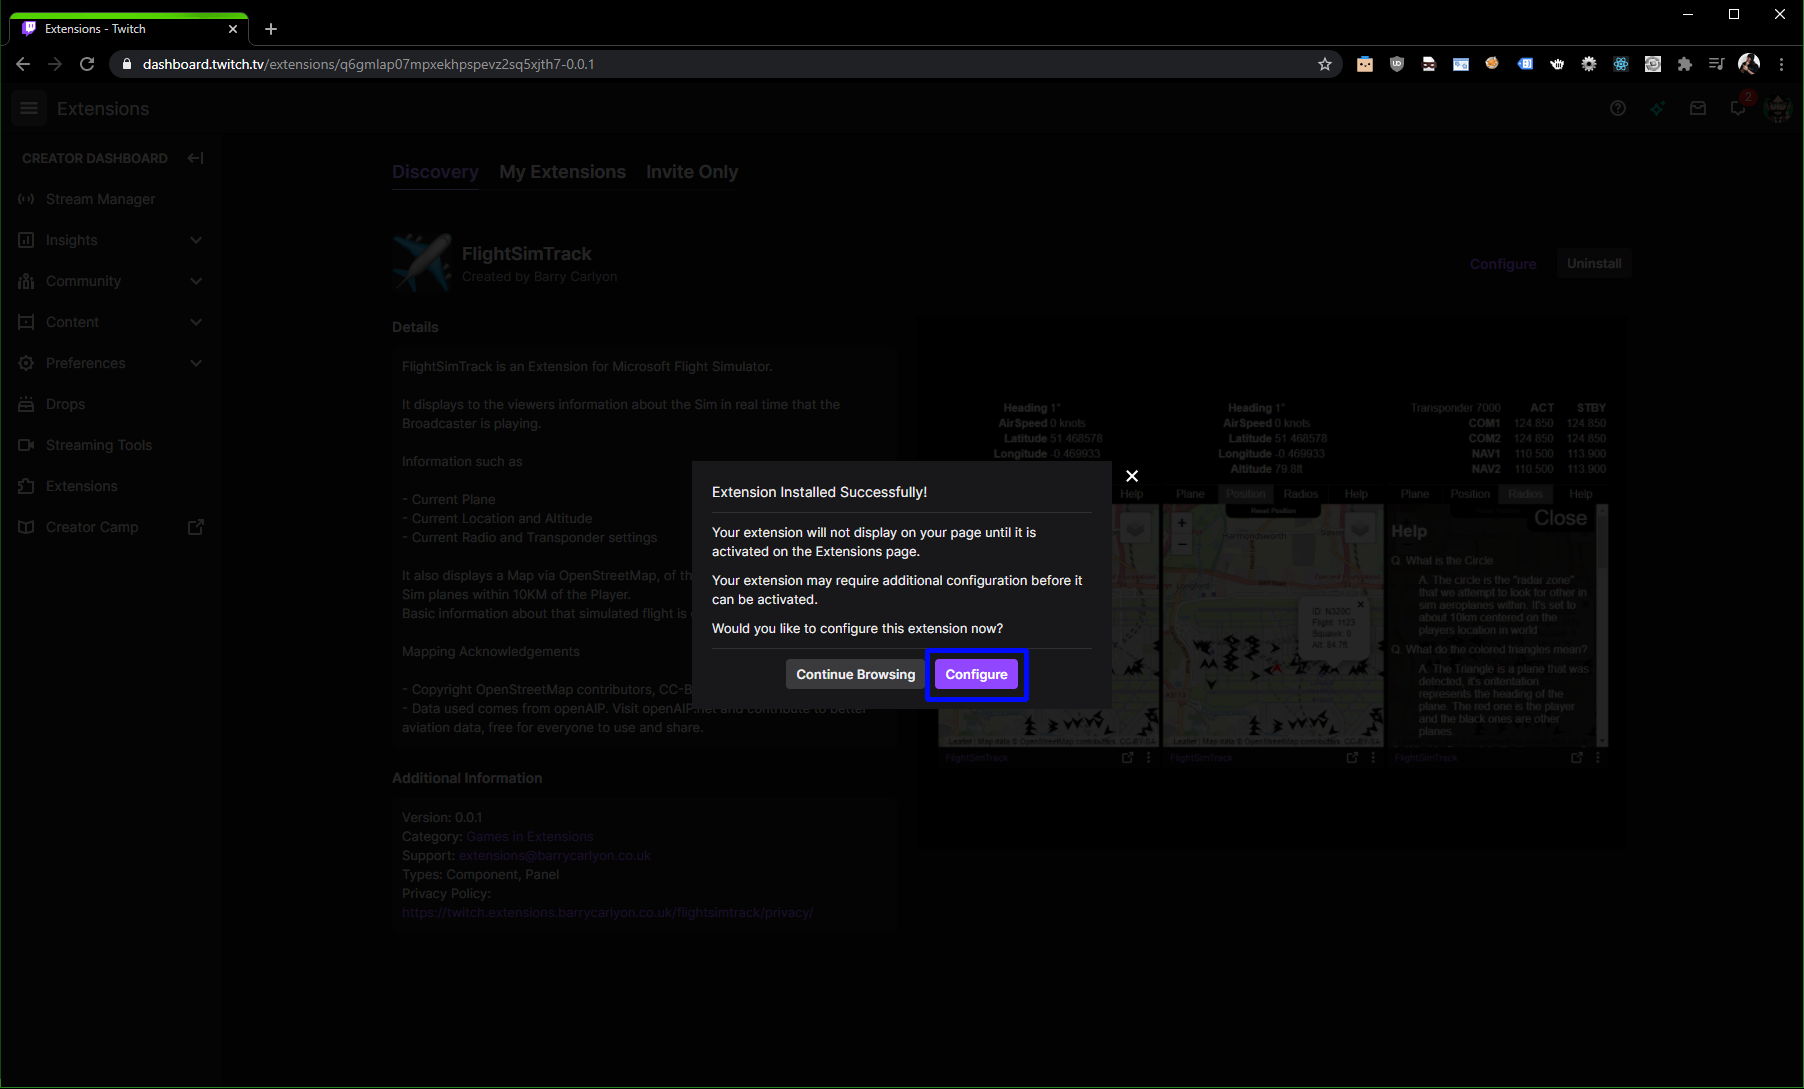
In some cases, developers can also block an extension being activated if the configuration has not been done, usually this would be used for things such as providing an API key to access another API, or asking the broadcaster what their Destiny 2/other game Character name is (for example)
It can be reached from the install flow for an extension and from the “Cog” Icon on an Extension in the Extension Manager section of the Dashboard
In terms of Dimensions it’s usually Landscape but a broadcaster can resize it pretty narrow, so you’ll need to be responsive or provide a minimum width
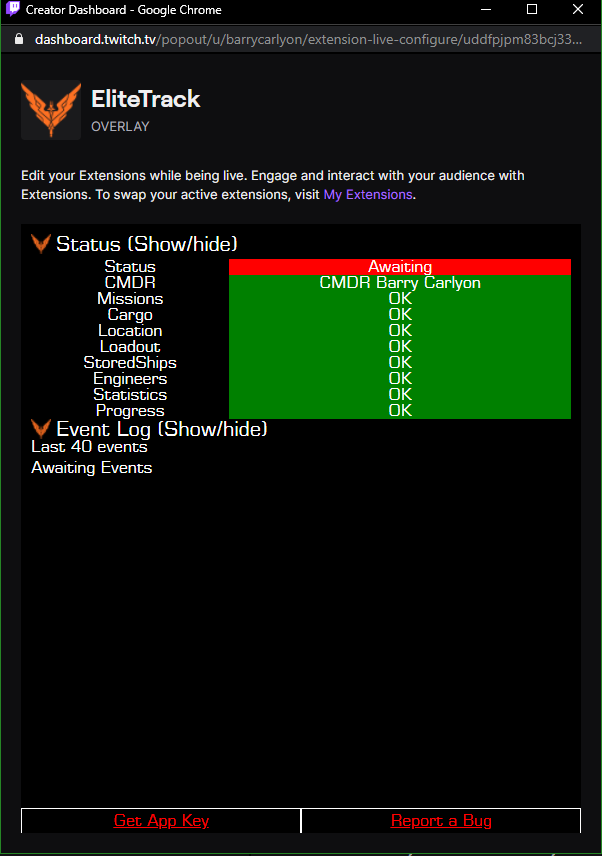
Live Configuration View
The Live configration view is to be used by the broadcaster for common tasks or things that need to be done during a Stream, examples of this would be to start a Poll for a poll extension, or a “I’m starting a round” in a mini games extension.
The Live configuration view is reached by the Broadcaster from the “Quick Actions” Section of their “Stream Manager”
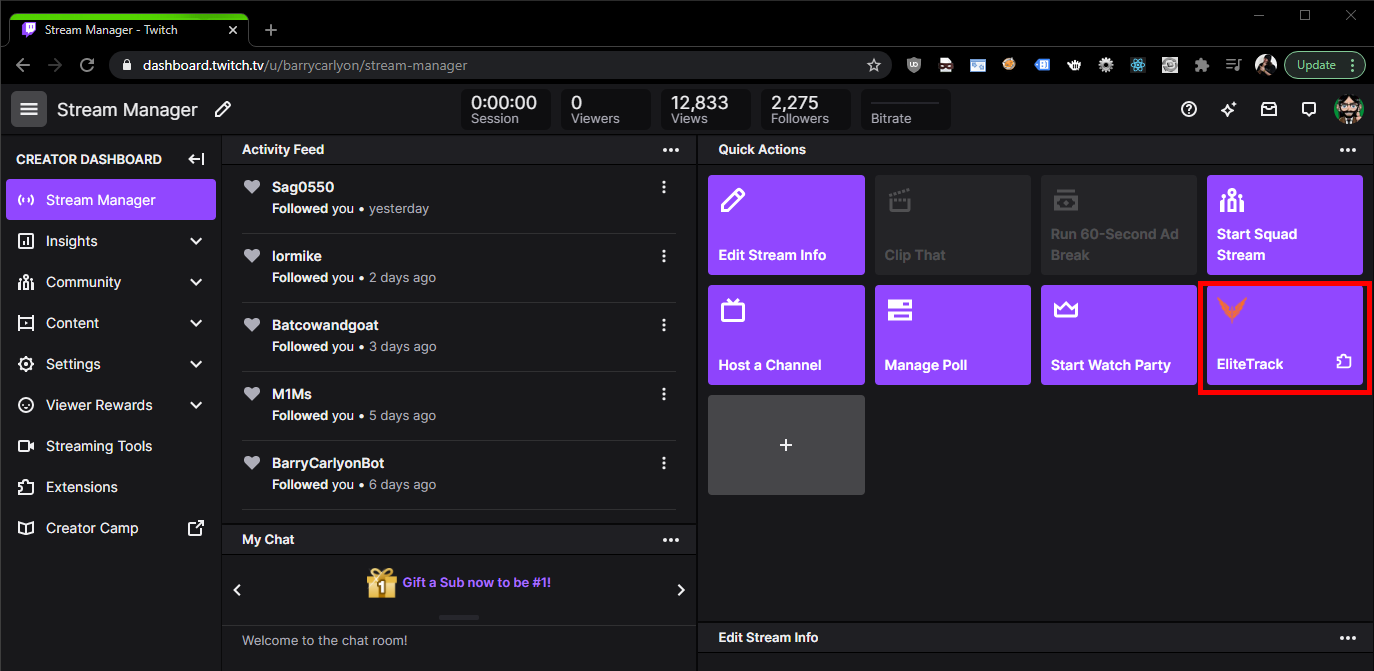
When clicked, a new window will open, which will contain the Quick Action/Live Configuration View, it’s resizable by the broadcaster so you’ll need to practice responsive design again here
Summary
And that covers the various integration points in a bit more depth compared to last weeks post!
Next week, we’ll be covering “Getting Started Building” I think and why every time I mention a HTML file did I follow it with: “the path and file name of the HTML file you wish to load, it is a relative path to the Testing Base URI/final upload URL”
BUT MOTHER I CRAVE VIOLENCE
Well, until I write the next part if you want to read more about the Developer Side of Extensions, you can pop a visit over the to the Documentation or take a look at Twitch’s Introductory Page and you can always join us on the “TwitchDev Discord Server”, visit the Developer Support Page for the current invite link!
Why you think you are good enough to even write blog posts on Extensions? I made a one or two of them Extensions of various types.