The Twitch Extensions Developer Rig is Dead

Or is it?

Preamble

Twitch decided to deprecate the Extension Developer Rig, which is fine, just about everything that the rig could do is avialable via the API now. You can read about the Deprecation on the Developer Forums.

The final thing that was API enabled was bits product management, which for a while was rig only, but is now available in the API and more recently in the developer console, so if you don’t want to write or use a tool, you can use the developer console instead.

You can read more about the Bits product management announcement over on the Twitch Developer Forums.

So What Now?

For those working with Twitch Extensions, you can either write you own tools to talk to various things via the API, such as the Config service or Bits product management or you can use a tool that someone else wrote such as my own Twitch Extension Tools. But that leaves out the one thing that the Rig can do but nothing else can, which is view testing.

View Testing

The optimal way, in my opinion, to do view testing is to get your Testing Base URI setup over SSL, either via using a real URL, or a reverse proxy tool such as NGROK.

But there are times where you don’t want to do that or just want to quickly test a video or component slot extension without going live, which is where the Rig comes in, you can test those sort of extensions without going live, or even by putting the “wrong” channel behind you extension (listen to Monstercat whilst working on your extension for example….)

The rig is still available for doing that sort of testing, but you may need to reimport/reopen a project or refresh the projects manifest into the rig, or you have started a new Extension and need to test.

That part of the rig is broken, you’ll hit the buttons and nothing will work as the API’s the Rig are trying to talk to just no longer work if they exist at all, to that end I devised a little tool to cover.

The Manifester

Presenting the Twitch DeveloperRig Manifester (not affiliated with Twitch naturally).

A Screenshot of the Manifester. It’s ok the userID is mine I can leak my ID all I want mom!

Which provides the following tools:

  • Import a Project, generate a new project file from an Extension and add it to the Developer Rig
  • Refresh Manifest, update an existing project file or change the active version,
  • Reopen Project, when you import an extension into the rig it generates a project file saving with it the views you made, you can then close the project in the rig, this file tool lets you reopen that project file and add it back to the rig.

Thats the three main things “broken” in the rig that can be replaced.

The other thing missing is “create a new extension and add it to the rig”, for that you need to use the developer console and then import to the rig via the Manifester.

Just remember to close the developer rig first before trying to use the manifester to do actions.

Notes

It’s a quick and simple Electron app licensed under WTFPL so go wild!

Summary

So, for helping with your Twitch Extension Development either:

  • write you own tools to interact with the API
  • use the Developer Console for bits product management
  • use a tool such my Twitch Extension Tools to talk to the various Extension related APIs
  • the Developer Rig Manifester to continue testing in the rig
  • test your extensions on the Twitch website with the testing base URI behind SSL (and don’t forget to have it in a subfolder to model hosted test and above best)
  • or any combination of the above
Twitch to Discord Notifications

This post is about a thing I built that has been public for a while, but I never wrote up a blog post about it.

A common question that comes up in various places, is “How do I notify my Discord that my Twitch Stream went live”, so since I had some time and wanted to build a demo project that shows people how do to that, since it’s a common thing, it’s easier to point people to an example.

I decided to build BarryCarlyon’s Super Simple Discord Notifications Platform.

It’s a super simple implementation of Twitch EventSub to notify a Discord Channel that a Twitch Stream has gone live.

The long and short of it is fairly straight forward

  • a Twitch EventSub message arrives into server
  • the Server parses that message
  • the Server checks if the target channel is live or not (just in case it’s a duplicate message)
  • if the checks pass, build a Discord Webhook message
  • Send that message to the linked Discord Channel via Discord Webhooks

The project is fully open source and licensed under “WTFPL – Do What the Fuck You Want to Public License” and can be found at the following places

The live version of the project only allows the logged in Twitch user to link their Twitch to a Discord, so you can’t login as you and say “I want to know when Lirik goes live”, this means that my EventSub cost is zero since you logged in as you and only looking to notify for your own stream. So I fit easily into the EventSub limit since the cost is zero. If you were cloning the project/logic to use your own ClientID then you don’t need to worry about getting auth since you probably are not gonna link 3000 or so streamers go lives into the same Discord channel!

So in summary, check out the Project, use it for your own stream/discord if you want, or borrow the logic flow from GitHub to do your own stuff with EventSub to Discord. And as always all feature requests and suggestions welcome! It was already requested to allow a Customised Discord message to support new/multiple lines in the message and that went in last week!

Mac, OBS and Streaming Audio Right

OBS has for some time been working on it’s new version of OBS which is called OBS studio, and is cross platform. Finally we are free from having to faff about with WireCast, we can now just plug and play and Stream away. BUT WAIT it’s not just that simple!

If you ever tried Minecraft’s in game streaming it will at least (force) prompt you to download additional required software to get you going.

This software (whilst not needed, (well it’s not but you are a idiot if you don’t setup your audio properly)) will get your Audio going properly on OBS streaming when you are not using additional Hardware.

This piece of software is called Soundflower, and is an example of Virtual Audio Cabling, which basically creates a software based Sound Card inside your computer in order to route audio more usefully!

Installing

So first things first, grab yourself a copy of OBS Studio, you can find the latest version on GitHub here. Download and install!

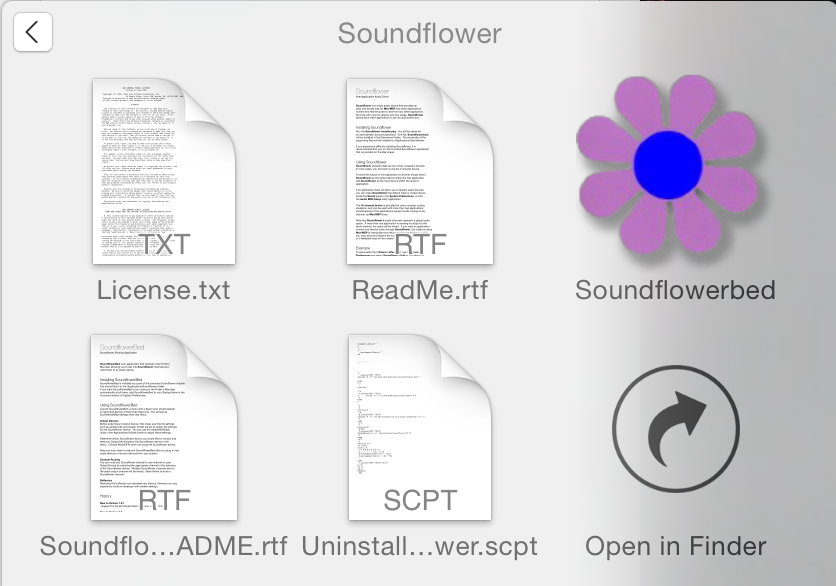
Next we’ll grab a copy of SoundFlower which is on their site here or GitHub here.

SoundFlower will need you to restart your Computer.

Getting Setup

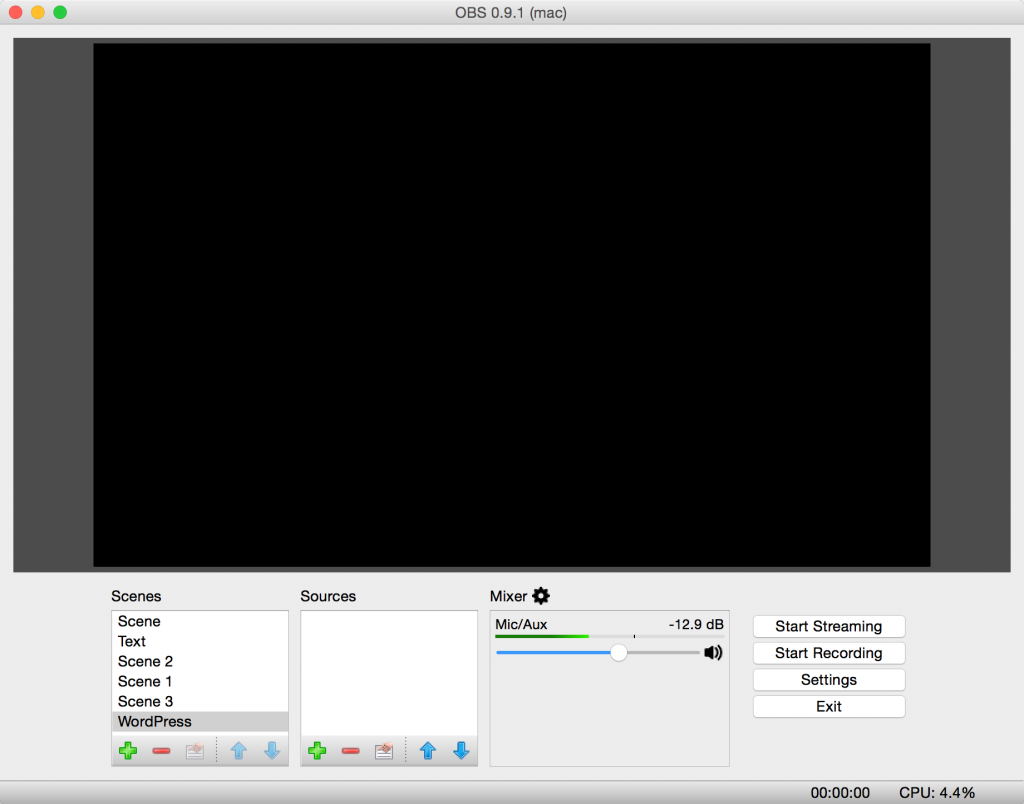
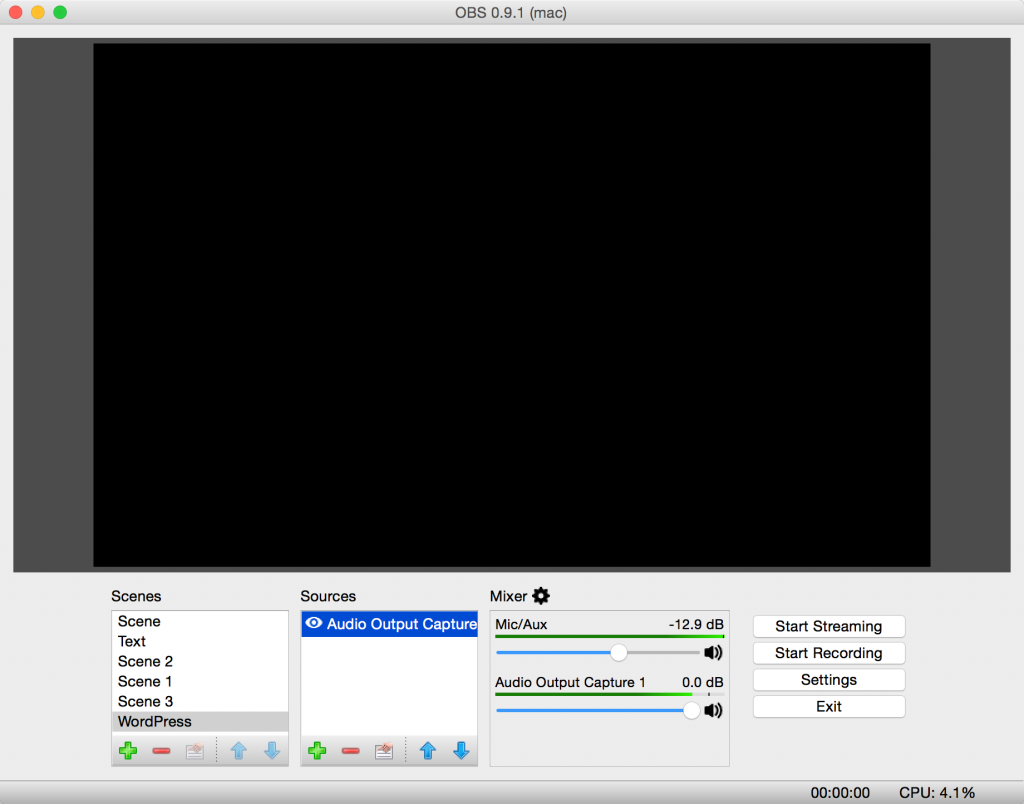
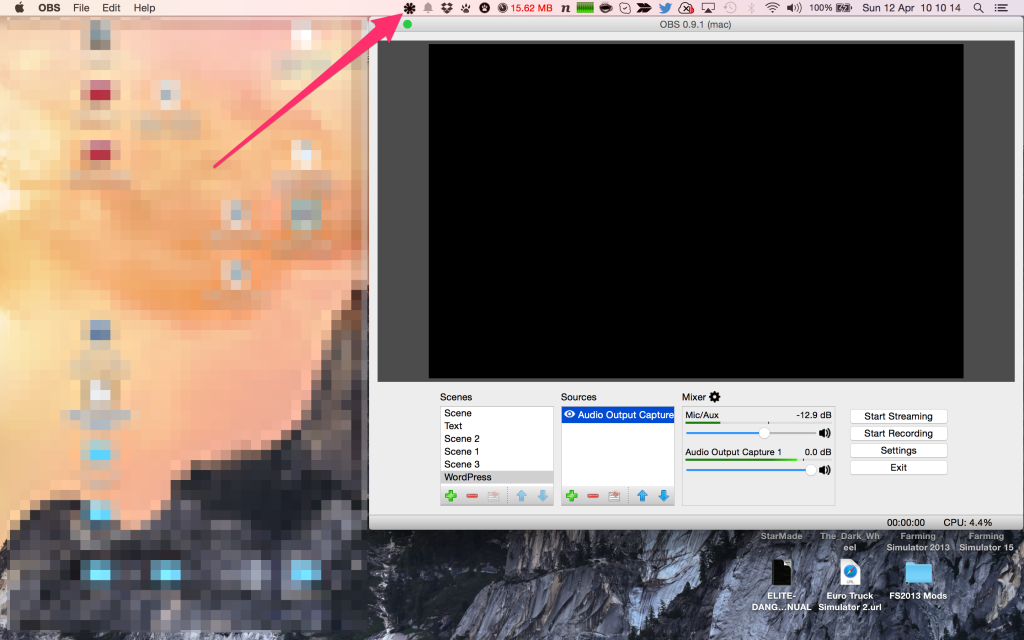
Lets fire up OBS Studio:

OBS 0.9.1

I’ve got a few extra scenes setup, but this is the layout you’ll be presented with!

We are going to add a source, (first make a scene of course) in this case a “Audio Output Capture”

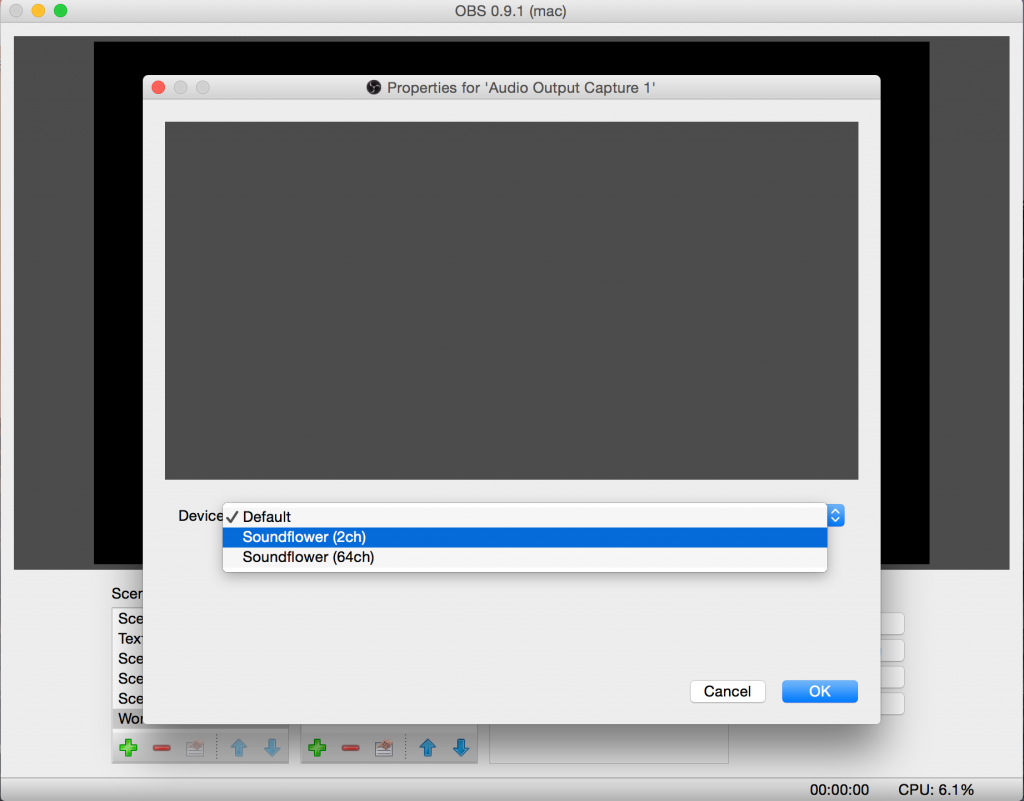
Audio Selection

And then, to keep things simple, just select the SoundFlower 2 Channel. We don’t need to do anything wacky.

Input Select

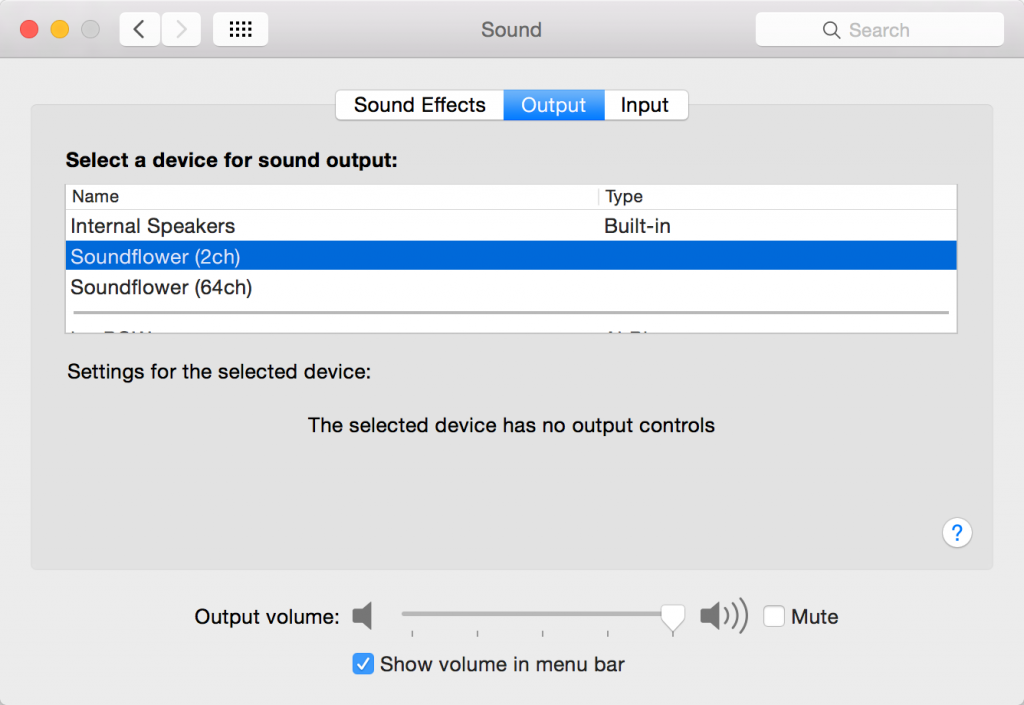
Finally we need to change the Sound Settings under System Preferences. So open System Preferences and Sound. And select Soundflower (2ch) as the Output device.

System Prefs Sound

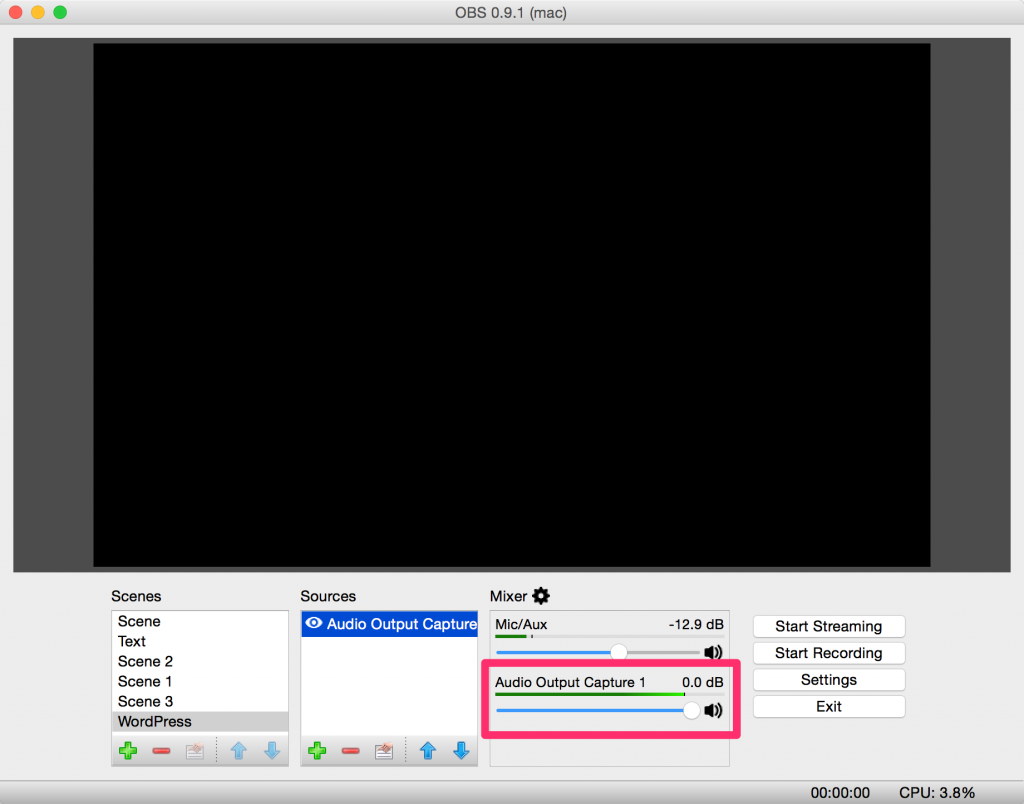
Now suddenly everything will go quiet as all your audio is being sent to OBS/Soundflower: (it’s good to check that OBS is actually detecting at this point)

Audio Monitoring

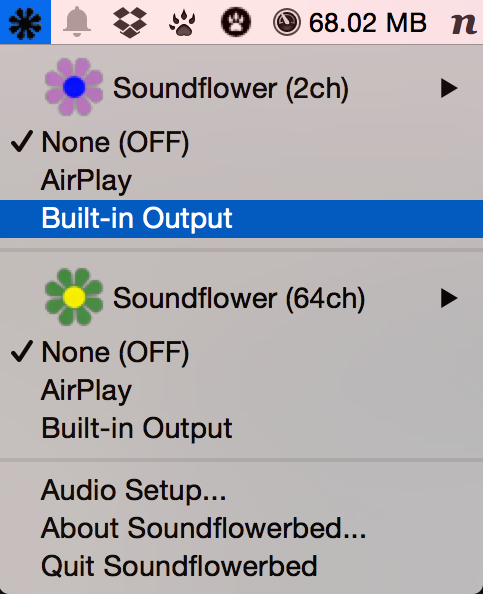
We need to route the Audio from your computer via Soundflower back to Speakers/headphones. For this open SoundflowerBed:

SoundFlowerBed

It’s under Applications/Soundflower, this fires up a Menu Item in the Top Dock

Top Menu

Just click that, and send the Soundflower (2ch) back to “Built in Output/headphones” And now both you and OBS can hear everything.

Soundflower Routing

Your computer’s audio is now sent to this device and captured by OBS.

(You can tell as my mic here is picking up my speakers):

Preview

And there we go 🙂

BONUS

(Billy May’s Voice) BUT WAIT THERES MORE!

Xbox 360 Controller on Mac under Yosemite?

Unofficial Release 0.14 works fine and it’s on GitHub here

BONUS BONUS

Now what do you do if you get Beachball of Death when trying to use the SoundflowerBed Icon from the menu?

First open Terminal (sorry).
Then type:

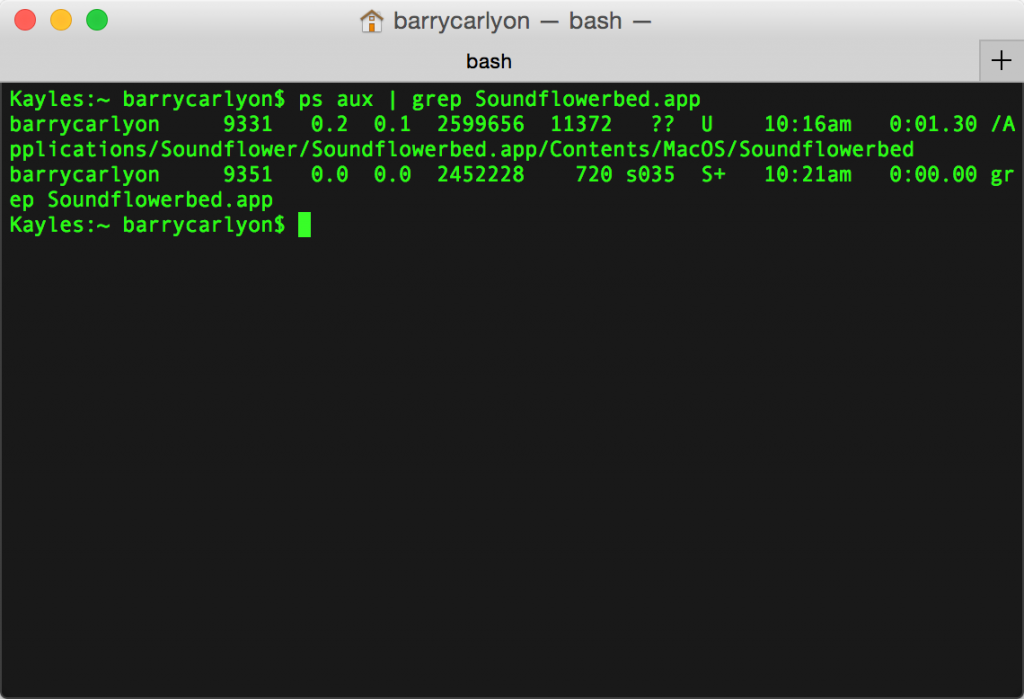
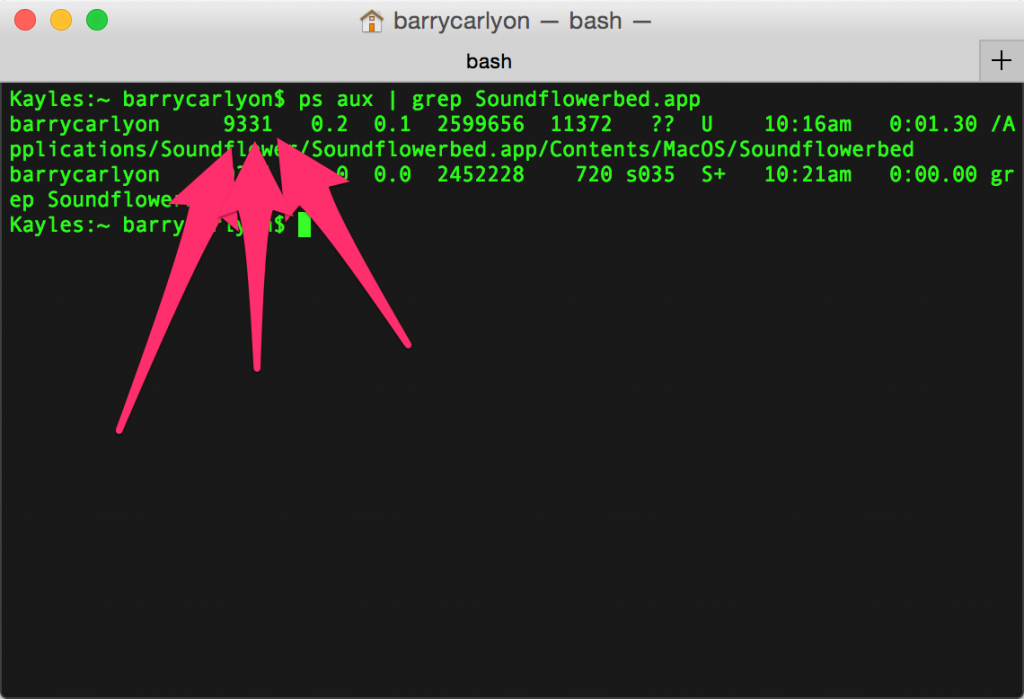
ps aux | grep Soundflowerbed.app

Then you’ll see something like this:

SoundflowerBed Hunt

Then type:

kill 9331

Where 9331 is replaced with the number here:

SoundflowerBed Kill

It is VERY important you kill the right thing. As otherwise you might break something and have to restart the whole computer.

Once you have kill’ed SoundflowerBed, just reopen and all should be good.

Further Reading: Some Tips from Tuts+

Applications I Use 2: gfxCardStatus

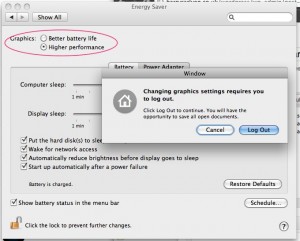
Heres a little handy app that works quite well. Specific to Macs with Dual Graphics cards, normally the only way to change cards is to log out and log in again, after changing the preference under Power Settings. You have one for Power Saving and one for High Performance graphics.

Cody Krieger (@codykrieger) wrote a handy little App that will let you change Graphic Cards without having to logout, quite handy if you want to just muck about for a bit and then open up Team Fortress 2, or do some Video work.

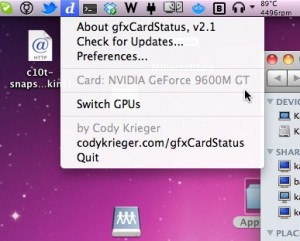
So I present today gfxCardStatus.

As the Author writes:

gfxCardStatus is a menu bar application for OS X that allows users of dual-GPU 15” and 17” MacBook Pros to view which GPU is in use at a glance, and switch between them on-demand.

Most of the time it spends all its time just in my Task Bar sleeping showing which card I have enabled (i for the power saving low powered card, and d for the high-powered card).

It works quite well, sometimes you request a change and your machine won’t honour it straight away, normally this is down to another application doing something graphics heavy, so locking the control out.

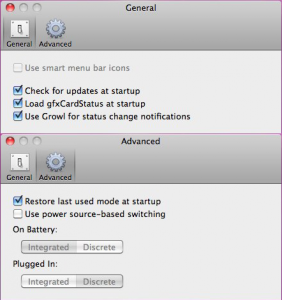
One useful feature built-in is the ability to auto switch the graphics card in use based on the current power source.
Which I don’t personally use, but then I tend to hot swap between on/off PSU far too often.

I’ve a couple of options missing and some different settings available, but it depends on what model of Mac you have and the Graphics Card present in your machine.

All in all its quite a handy little app, and its Free. You can download it from http://codykrieger.com/gfxCardStatus and start using it straight away.

Applications I Use 1: Caffeine

Because I don’t often have a lot to write about, thought I would start a new string of posts on Applications I use on a regular or semi-regular basis.

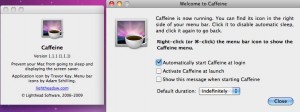
Today I’m starting with a little App that sits in my Mac Menu Bar. And Looks like a coffee cup.

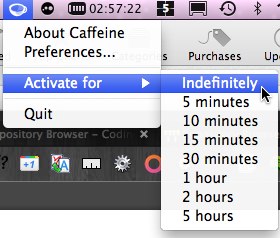
Its called Caffeine and has a single function.
When enabled it stops the screensaver from running and the Mac itself from going to Sleep.


In addition to just enable/disable, it can be enabled for a 5/10/15/30 mins or 1/2/5 hours.

Quite a handy app if you are running something like a flash video that doesn’t quite trigger the no screensaver rule, or if you need to stop the screensaver running, and munching system resources, like video rendering. Or of course Power Point/Keynote Presentations.

There is nothing else to say about it really. It’s a handy little App with no little task and just sits there waiting to be enabled.

The odd person has had the odd issue with it, probably down to running other Power setting adjuster programs but it’s generally well reviewed in the App Store.

Its available in the Mac App Store and its Free.